Remember these beauties? So yellow. So grainy. So flat. So, again, I started dreaming up an inexpensive fix. Years back, I applied 1 inch trim to my bathroom walls to dress them up a bit, and I thought surely someone had tried something like this with doors on pinterest! Sure enough, I found plenty of tutorials so I decided to give it a try. I’m pretty happy with how they turned out! Since I had all of the other supplies, I only spent $50 on them, so my wallet is pretty happy too!

Here is a list of supplies I used:
- Pine Boards (I used 8, but it depends on the size/number of door(s) you are doing!)
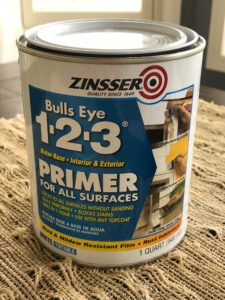
- Bullseye primer
- Paint
- Foam brushes (at least 4)
- Sandpaper
- Miter saw (a chop saw, table saw or handsaw would work fine too)
- Small, skinny nails
- Wood filler
- Tape Measure
- Liquid Nails
- Gloves
- Drill with 1/4″ drill bit
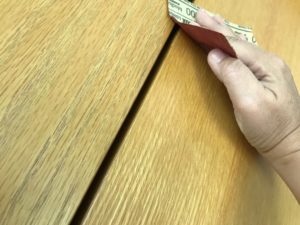
To get started: Sand down the doors. You don’t have to go crazy. Just get them roughed up enough for the bullseye to stick to. While this primer says it doesn’t require sanding, I recommend doing it anyways since the doors will be handled from day to day. I did two coats of primer to help fill the grain. Although, to be honest, I’m not sure it made much difference with the grain!
Next paint the doors. I used a sprayer, but brushing would be fine too. If you brush, I’d use foam brushes to avoid brush marks.

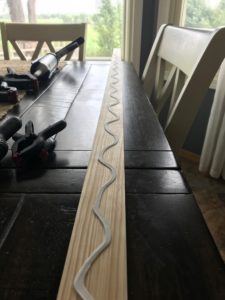
Now to the good stuff. You’ll need to measure the height of your doors, and mark the cuts on the 8′ pine boards. Be sure to keep the cut off pieces to reuse for the horizontal boards. Sand any splinters off the ends. Using liquid nails, squeeze a thin curvy line of glue from top to bottom of your first board. Please be sure to wear gloves. This is important: Place your outside boards a 1/2 inch from the door trim. I didn’t put quite enough space and now the pine board will occasionally clip the door trim. Super. Annoying. Learn from my mistakes! Anyways, once your have the first board up, tap in about 4 nails from top to bottom to hold it in place. Don’t nail them in all the way since you will be removing them after the glue dries. Do the same with the other outer board. The interior boards can be more aligned with the edge of the door since they won’t be running into anything. I kept them about an 1/8 inch on inside the edge.
Once you have the vertical boards in place and the liquid nails has dried sufficiently, it’s time to move onto the horizontal boards. I chose to do only 4 across, but this is totally preference. Measure and mark where your boards will be placed. Then measure across horizontally for EACH board. The outer panels will be skinnier since the outer verticle boards are placed further in.
Repeat gluing and nailing each horizontal board. Once the glue has dried, remove all of the nails and fill the holes with nail filler. Let filler dry. Sand and clean around the nail holes.

Lastly, prime the trim boards if you haven’t already. Paint! That’s it! Not perfect, but super cute and WAY better than what they were before. Thanks for reading!
The dining nook completed!

Recommend this project? YES!!


