~ Click here to watch this episode of ~![]()
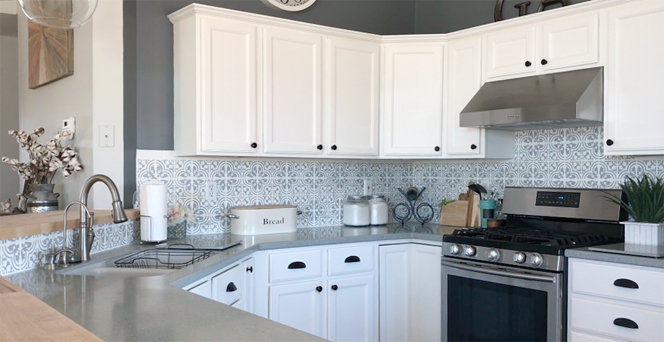
Don’t get me wrong – I have nothing against white backsplash tile. I actually love a nice, simple subway tile. But once I painted my cabinets, they clashed terribly with the tile. And besides, these 90’s tile just didn’t do it for me. I needed a little something more… Since I didn’t have time to tear out and replace, I decided to go unconventional and paint the original tile! It required just a few products, and a lot less $$. As always, use caution and please read my disclaimer before continuing.
To complete this project you will need:
- Blue dawn detergent or TSP for cleaning the tile
- Sponge or towels for cleaning and rinsing tile
- Painters tape
- Plastic or paper to protect countertops
- Stencils
- At least 4 foam paint brushes for priming, painting and stenciling
- Paint colors of choice for the stenciled color and base color
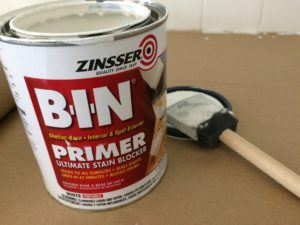
- Shellac based primer
I won’t lie and say this was an easy task. All in all I spent about 6 hours over 4 evenings stenciling. It sounds like a lot until you consider the time it takes to tear out old tiles, repair/prepare the walls, tile, grout, and clean! Will I replace my stenciled tiles? Eventually. But for now they add a nice texture and charm to a kitchen that started out somewhat void of character. Here’s what I did:
1. Clean thoroughly – I scrubbed with a solution of blue liquid dawn and water. Rinse. If super grimey, scrub with diluted TSP Replacement (read the directions on the bottle, please!) Rinse.
2. Tape off countertops using old newspaper, plastic or butcher paper.
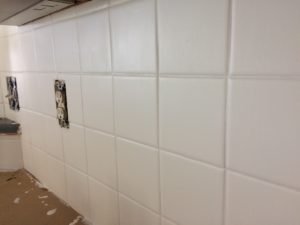
3. Prime – I brushed on 2 coats of shellac based primer, allowing plenty of dry time in between coats.
4. Paint on the base coat – I used a sprayer to paint but brushing would work fine. My paint also had primer in it for extra coverage.
5. Stencil (read on!)
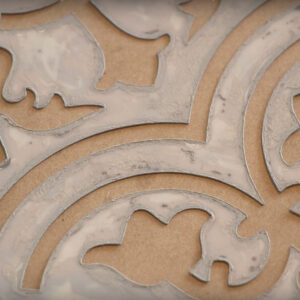
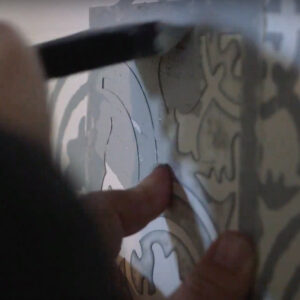
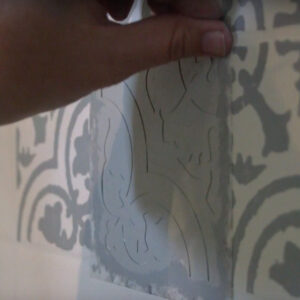
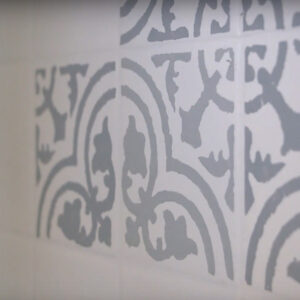
FIRST AND FOREMOST: PLEASE TAKE PRECAUTIONS WHEN PAINTING AROUND EXPOSED (OR COVERED FOR THAT MATTER) ELECTRICAL OUTLETS! WHEN IN DOUBT, TURN OFF THE BREAKER! That said… stenciling was the tricky part. 🙂 I found this great 4″ stencil on etsy and purchased 6 of them. (You can find it on etsy) This gave me plenty to cut apart for those awkward shaped/placed tiles. Using a sponge brush, I held a stencil over a tile, and gently dabbed the paint into the cutout regions. Be careful not to let the stencil slip or you will be washing off the tile and redoing it! I rinsed the stencil in the sink and dried with a towel after every use to keep old paint from smearing onto the tiles.
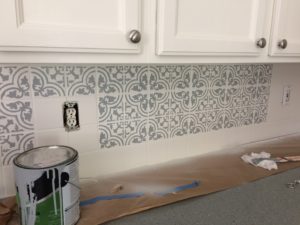
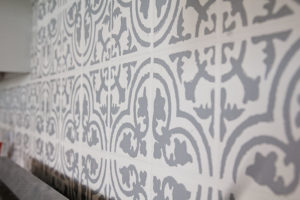
Like I said before, I spent about 6 hours over 4 evenings stenciling but the transformation is pretty amazing… or at least I think so! Take a look at the before and after:
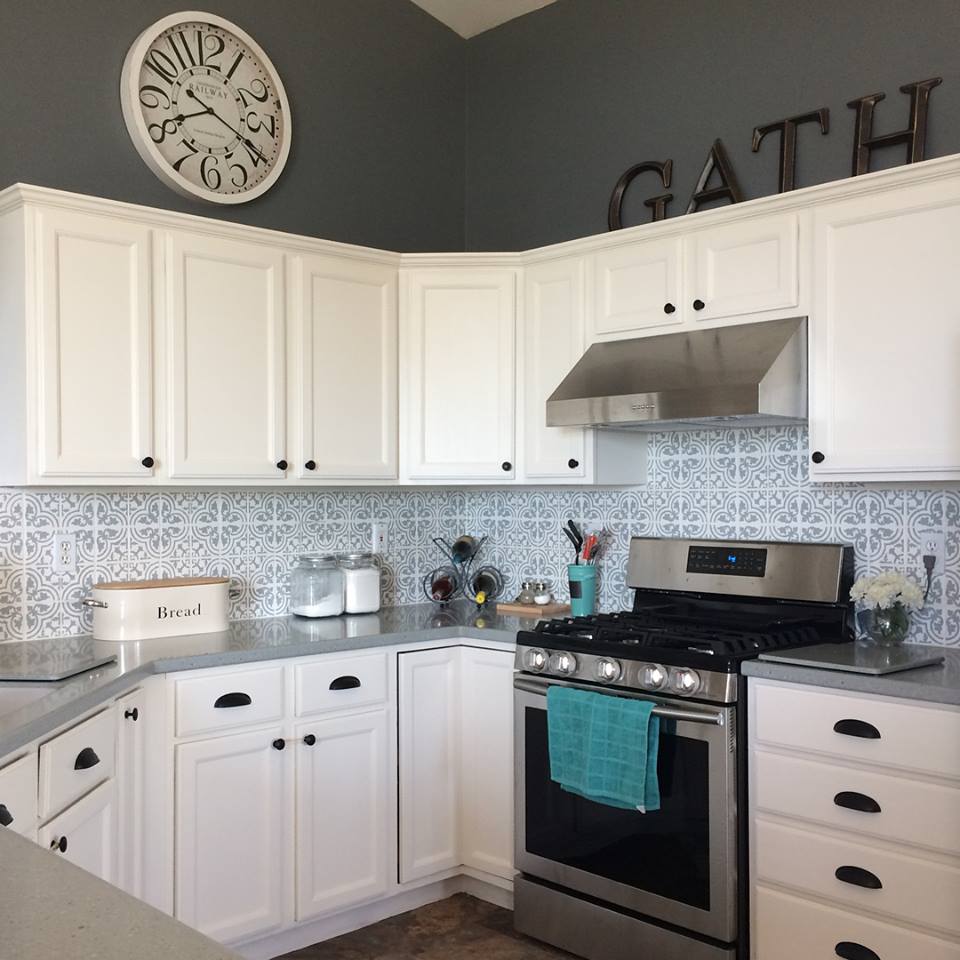
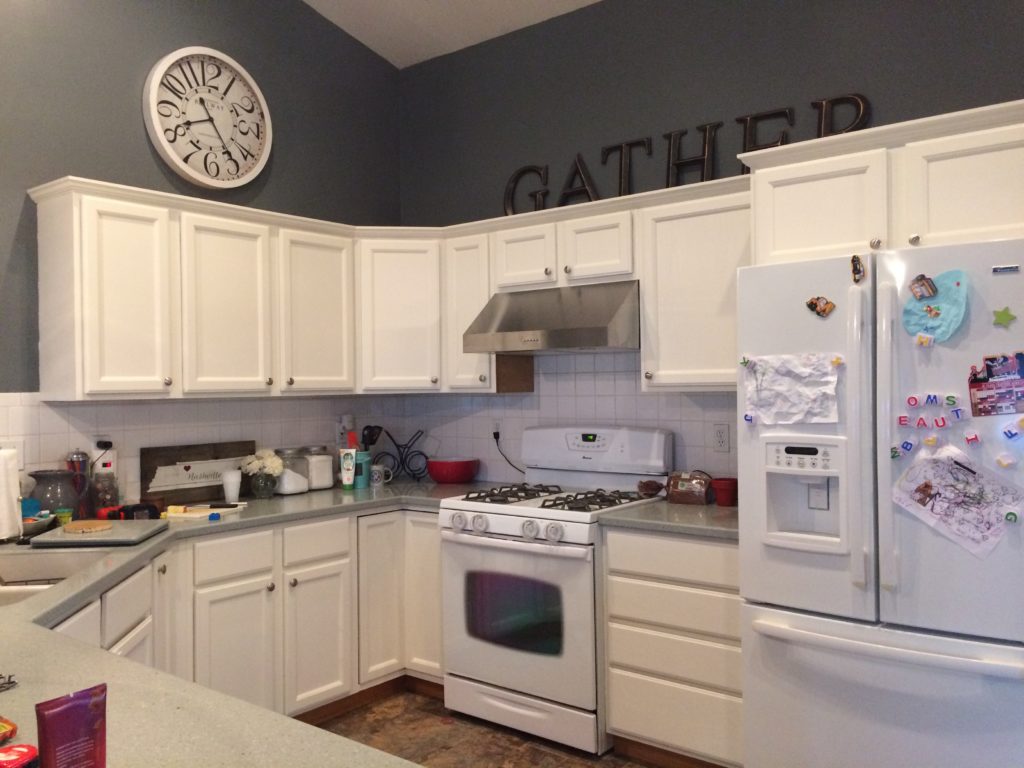
I hope this post gives you hope that you too can give your kitchen a pretty inexpensive refresh! Happy stenciling, and post your pictures below if you decide to try it!
*Update: 1 year later, my tiles are still holding up! No paint peeling off. I continue to wash gently, and have had no problems!!